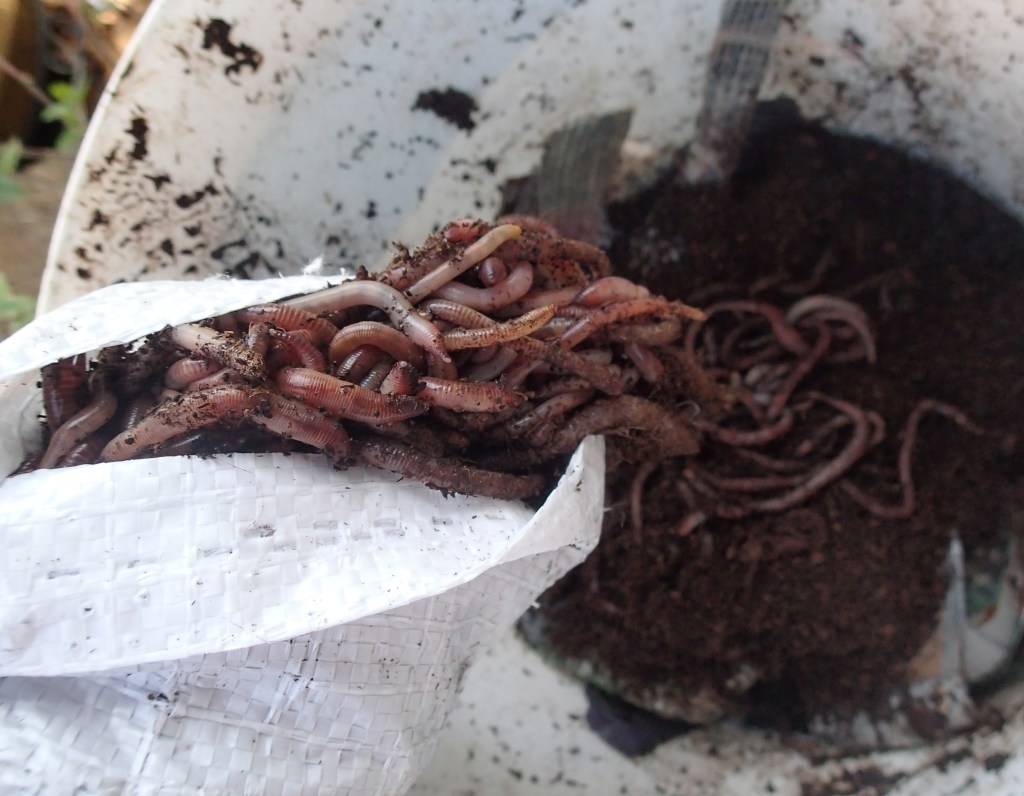
What are composting worms?

Composting worms are special kinds of worms which particularly like to eat decomposing organic material. They usually live on the forest floor or in manure and will find their own way into your compost heap or bin if it has an open base on the ground. They tend to be either tiger worms (Eisenia fetida), also known as brandlings or red wrigglers, or dendras – short for dendrobaenas (Eisenia hortensis or Dendrobaena veneta).
Worm composting or vermicomposting makes use of these worms to turn food waste into worm castings or ‘compost’. A liquid product or leachate is also produced, which can be diluted (1:10) and used as a plant feed. You can easily make a DIY worm bin using plastic containers or buckets.
Image by Jo Milton
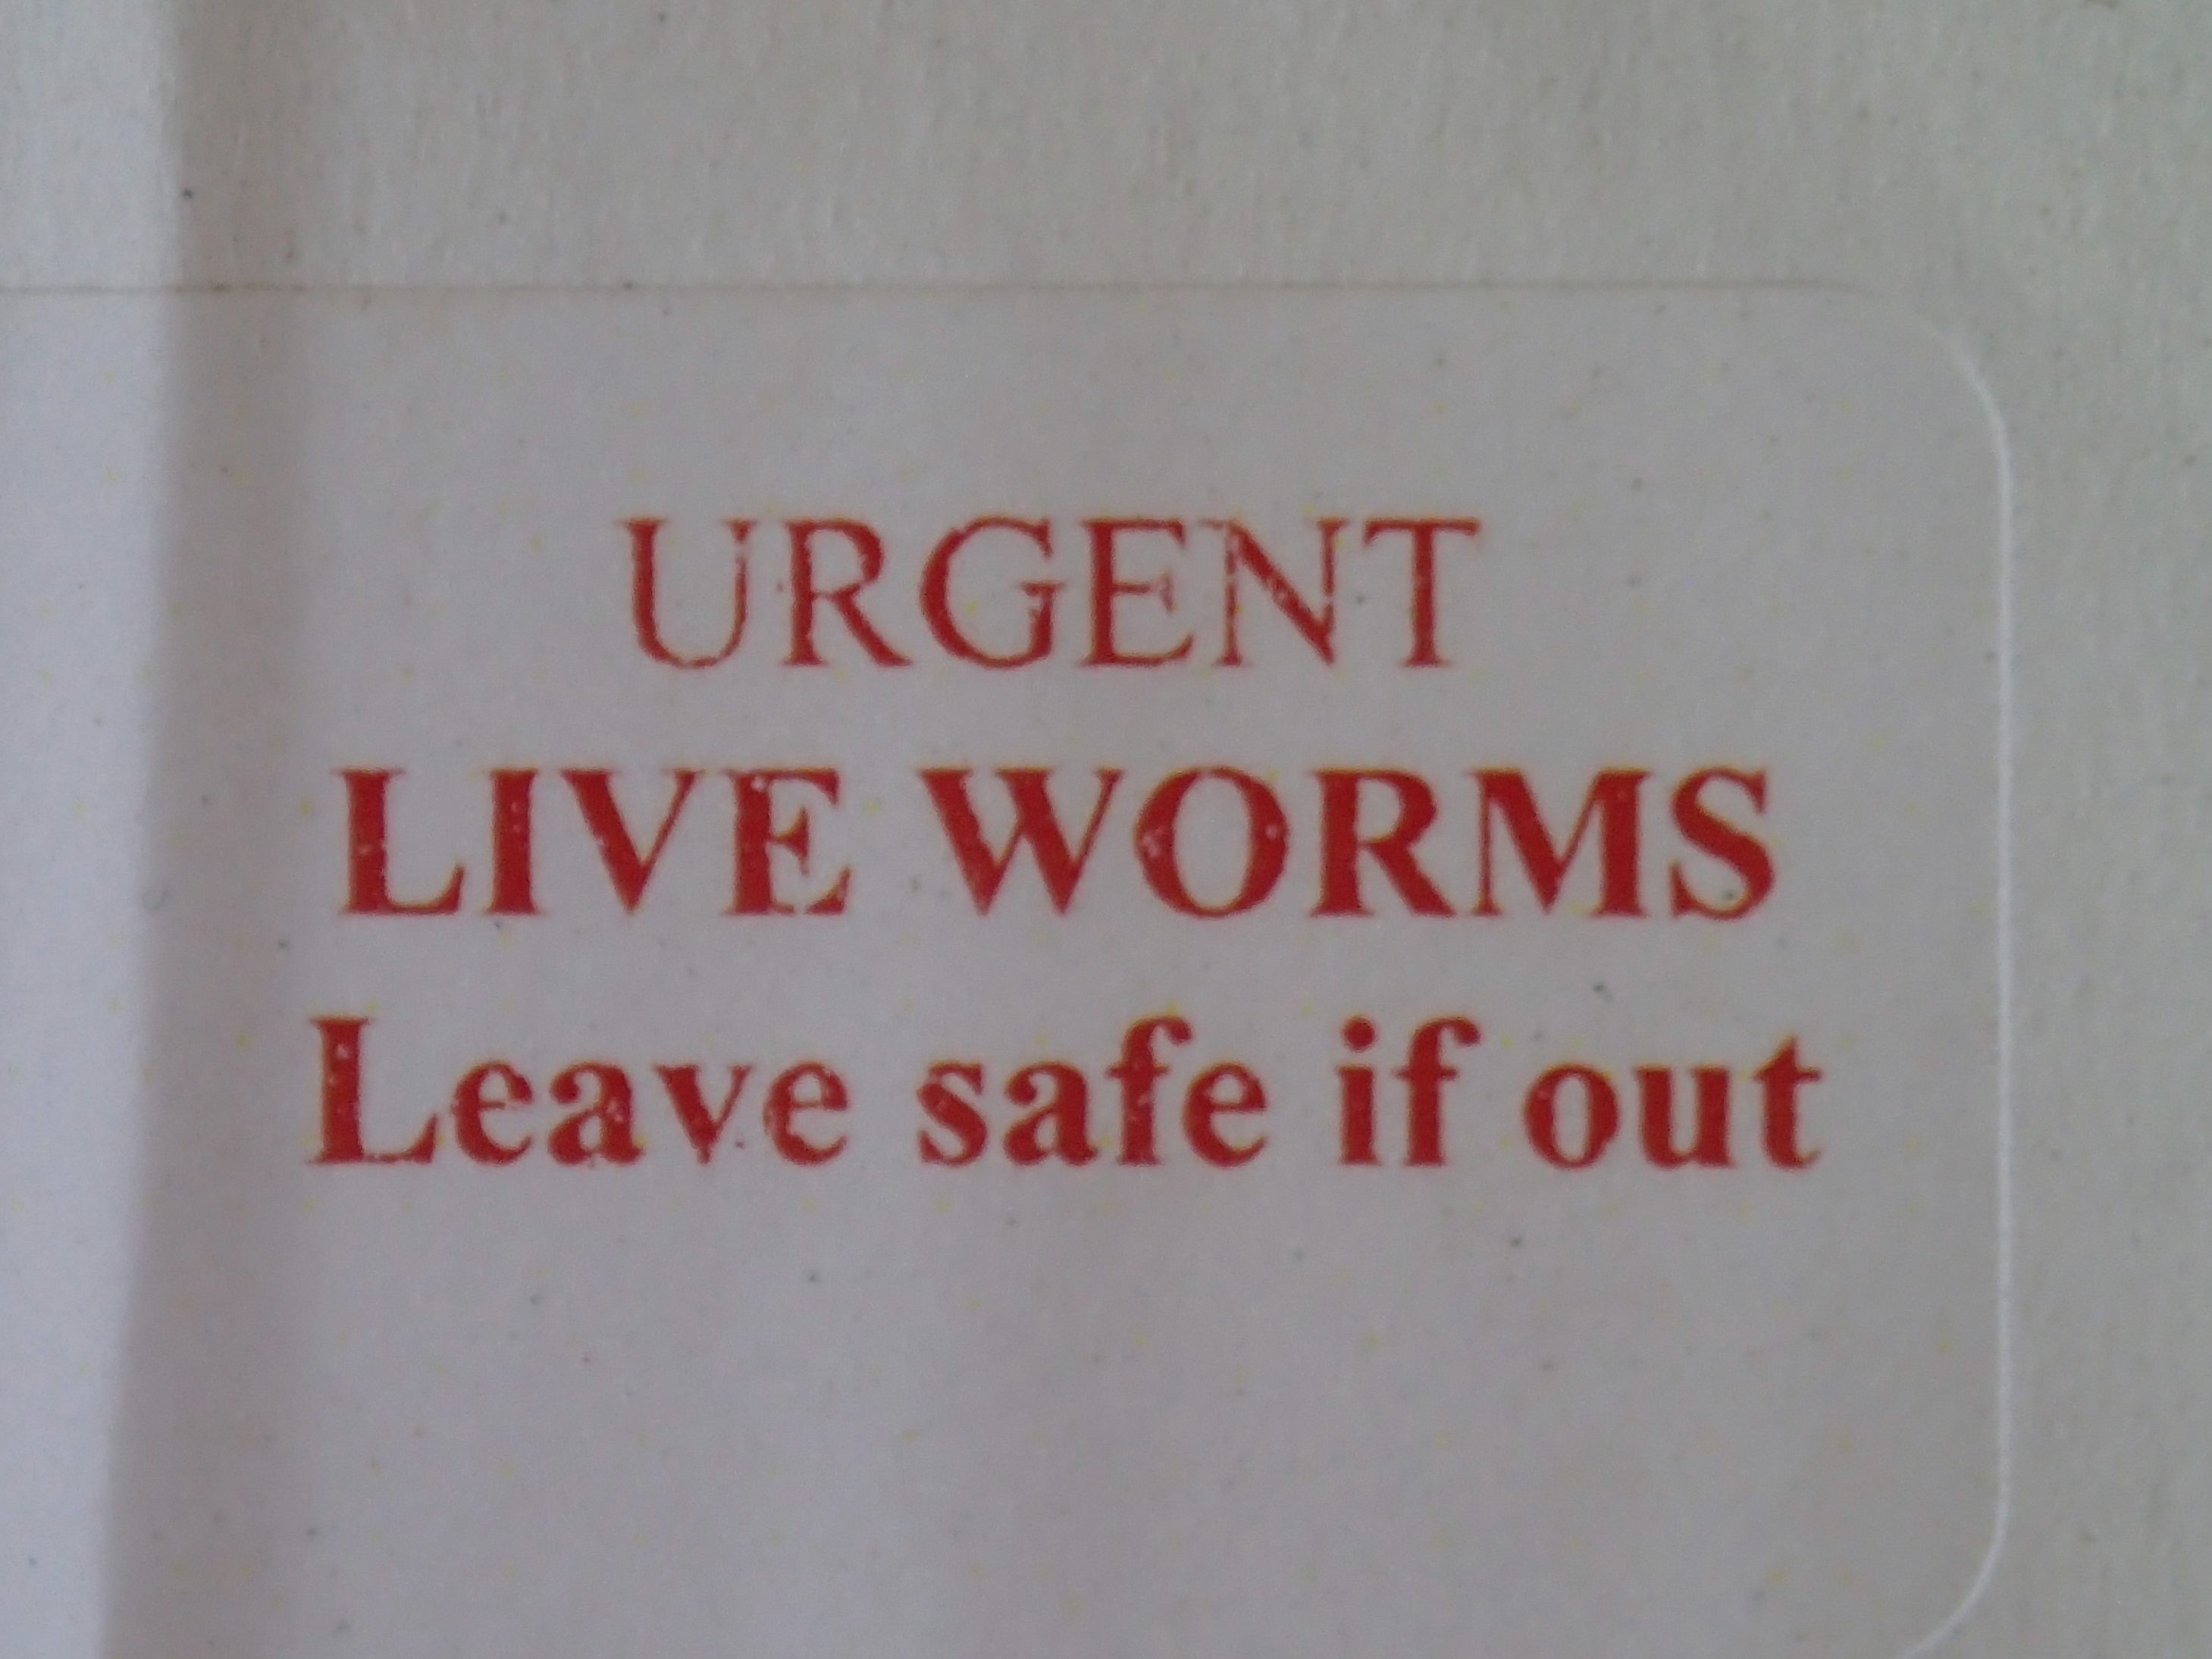
You can get some worms to start you off from an established worm bin or composting system or you can buy them on the internet. I just bought 250g of mixed composting worms from wigglywigglers. They cost around £20. The worms arrived in a breathable bag (inside a box) with some coir bedding. After very carefully opening the packet, I gently tipped them into my new worm bin. Keep the bin outside for the first day or two as the worms may try to escape until they get used to their new home.

What foods do worms like?
Your worms will need some bedding material – you can buy coir or you can use shredded cardboard, brown paper or newspaper (black and white). You can also use compost, autumn leaves, straw or hay – a mix of materials is good. The worms will eat their bedding so you need to top it up as they munch on it. Add larger amounts when you empty the worm castings.


You can feed your worms most fruit and vegetable scraps, with a few exceptions – see below. They also love coffee grounds and you can give them tea leaves or tea bags, as long as they are biodegradable. Worms don’t have teeth so they need some grit to help them break up materials like cardboard. You can use some top soil or fine sand. Add a bit more when you empty the worm castings. Egg shells are good for your worms digestion if you grind them into a fine powder, as that acts like grit.
Worms will happily eat starchy foods like plain bread and cooked pasta, rice or potatoes. Only feed them small amounts of these foods. They might encourage fungus gnats, so you can leave them out if you prefer.
What foods don’t worms like?
It’s best not to give worms mouldy food and there are a few fruits and vegetables they don’t like as much. Onions, garlic and other aliums, as well as citrus fruits and peels are acidic and can irritate the worms skin. Some people say they are OK in moderation, but I just put them in my pallet bay regular composting system. Wash all fruits and vegetables first to reduce the amount of pesticides and herbicides.


Although worms would eat them, meat, fish, dairy and eggs will all produce nasty smells as they break down, so it is best to put those in your food waste bin. Other things to leave out are spicy, salty, oily or sugary foods. Don’t add dog or cat poo, as these may contain pathogens or de-worming chemicals that would be harmful to your worms.

Other tips to keep your worms happy?
- Chop up or blend their food. Worms have small mouths and no teeth. You can freeze the scraps and thaw them before adding to help breakdown the cell walls.
- Add plenty of bedding material – at least 50% and top it up as they eat it.
- Ensure your worm bin has good drainage. Empty the liquid in the bottom layer regularly. If you keep it outside, make sure it doesn’t get too wet when it rains.
- Keep the contents damp, but not wet. Food scraps contain lots of water and you can wet the paper, card or other bedding material before adding it. Cover the worms with a layer of wet card or newspaper to keep the moisture in.
- Keep your worm bin somewhere out of the sun indoors – under the sink works well. If outdoors, keep it in a sheltered spot in the shade. Worms will be happiest between 15 and 25°C, so you will need to move your worm bin to a shed, garage or bring it indoors over winter.
- Make sure the worms have enough oxygen. They don’t have lungs and breath through their skin. Make plenty of holes (one every 3-4 cm) in the lid and even round the top of the container. Holes also help stop the bin getting too hot.
- Most importantly don’t overfeed your worms. Wait until most of the food has been eaten before adding more. Start slowly with a new bin until the number of worms has increased. Going on holiday? An established worm bin can be left unfed for around 4 weeks.
Want more tips on avoiding food waste
and growing you own food?
Follow us on social media or sign up to our newsletter.
