Apart from the fact that they are tangy and delicious, making fermented vegetables is an easy way to preserve vegetables for many weeks or even months and in doing so, avoid waste. Fermentation works well even if foods aren’t at their freshest (provided they haven’t gone mouldy or slimy) so it’s a perfect way to give wrinkly veg a new lease of life.
What is fermentation?
Before refrigeration, fermentation was a common way of preserving foods, alongside other techniques such as drying, salting and preserving foods in oil. Many foods and drinks are the product of fermentation, from yoghurt and aged cheeses to vinegar, wine, cider and beer.
During fermentation, bacteria and yeasts break down carbohydrates and sugars in the foods and produce acids, gases and alcohol.
What is lacto-fermentation?
Lacto-fermentation is a common way of preserving vegetables using ‘lactic acid’ bacteria that are naturally present.
Vegetables are submerged in a brine of salt and water. In some recipes (such as sauerkraut) no water is added – instead, the vegetables are pounded so that they release their juices. The salt creates an environment where few bacteria species can survive. Lactic acid and other bacteria thrive, while harmful bacteria that can spoil the food and make you unwell don’t survive. The bacteria produce acid that gives the vegetables a tart, pickle-like flavour.
Health benefits of lacto-fermentation
Fermented foods can be beneficial for your health. As vegetables are fermented raw, many of the nutrients contained within them are preserved during the process. In fact, fermentation helps to break down nutrients in food, making them easier to digest. In addition to this, the probiotics (i.e. beneficial bacteria) in fermented foods have been associated with improvements in immunity, digestive health and more.
Equipment needed
- You can use mason jar, kilner jar, or fermenting crock, but any glass jar works well.
- A fermenting weight and a cabbage leaf to keep the vegetables submerged under the water. This prevents them from going mouldy.
Method
- Wash the jar and utensils in hot, soapy water. You may choose to sterilize the jar in boiling water, but many don’t do this – the salt in the ferment should prevent spoilage.
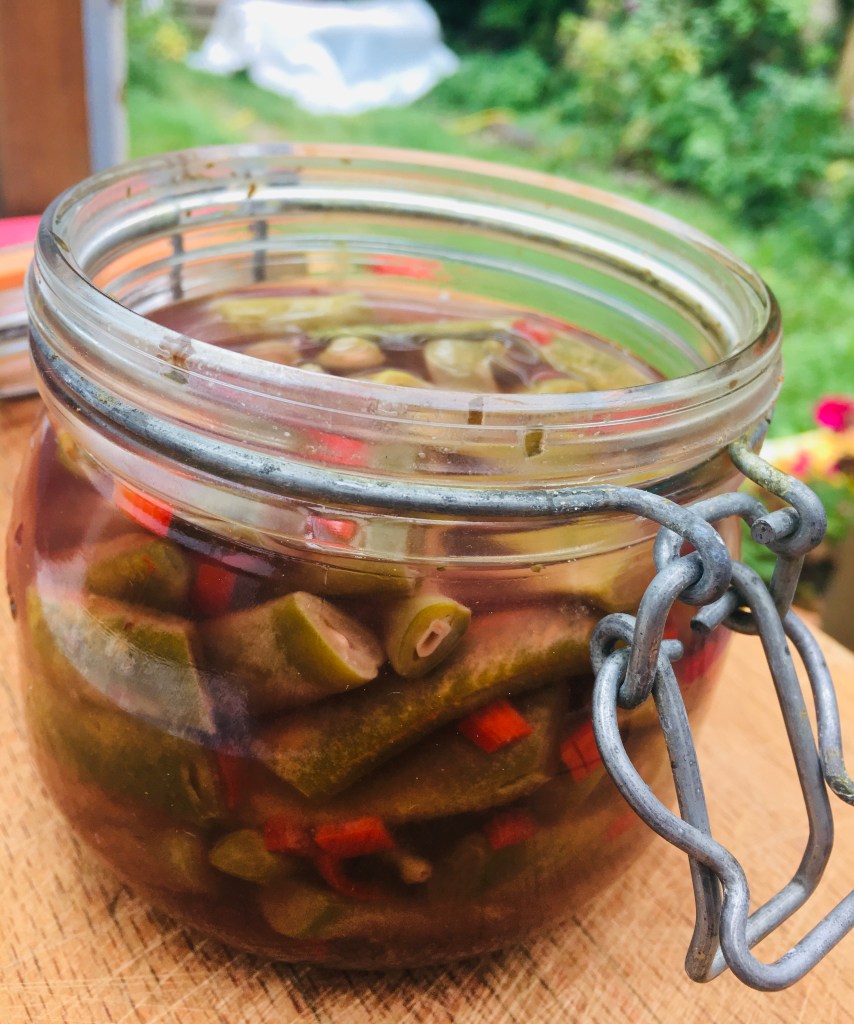
- Add your vegetables to the jar, pressing down so that it contains as little air as possible.
- Add the saltwater brine to the jar (see below for instructions on making a brine), leaving about 1 inch of headroom at the top of the jar to gases to escape.
- Place a cabbage leaf on top of the vegetables, trying to get it below the surface of the water. Place the fermentation weight on it to keep it submerged.
- Screw the lid onto the jar very loosely. As the fermentation process gets going, carbon dioxide will be produced. If it can’t escape, it could cause the jar to break.
How to make a brine
Add salt to your desired amount of water, adding 2-5% of the weight of the water in salt. 1 litre of water weighs about 1000 grams, so for 1 litre of water you would add 20-50 grams of salt.
Table salt contains iodine which can prevent the growth of beneficial bacteria, so it is recommended to use non-iodized salt, such as unrefined sea salt.
How strong should the brine be?
How much you use is according to taste, but be aware that if you use less than 2% your vegetables risk going off, and if you use more than 5% fermentation may not occur as the fermentation bacteria will struggle to survive. As a rule of thumb, vegetables with a low water content (like root vegetables) don’t need such a strong brine (e.g. 2%) while vegetables with a high water content that will dilute the brine (such as cucumbers) will require a brine of 5%.
Leaving the vegetables to ferment
- Leave the jar at room temperature away from direct sunlight. After a few days the liquid should go cloudy and bubbles should rise to the surface. The warmer the temperature, the faster the fermentation will happen. Vegetables fermented at 15-20 degrees should be ready in 4-6 days, those fermented at cooler temperatures may take several weeks and may have a more complex flavour. Ferments will get more sour over time as the available sugars are eaten by the bacteria.
- ‘Burp’ the jars daily (open them to release any trapped carbon dioxide) or leave the lids very loosely fit so that air can escape.
- Taste the ferment every few days to see when it tastes ready. When the ferment is ready (you like the taste), put it in cold storage, such as a fridge or cellar, where it can keep for up to a month.
How does a ‘normal’ vegetable ferment look, smell and taste?
Vegetable fermentation is considered low-risk, but as the acidic flavour may be new to some of us, it’s helpful to know how to tell the difference between a ‘normal’ ferment and one that’s spoiled.
A normal ferment:
- A pleasantly sour smell and taste
- White film on the top of the jar (a natural yeast by-product of the fermentation process – just skim off and discard)
- Sediment at the bottom of the jar or cloudy liquid – this is a sign of bacteria and is nothing to worry about.
A spoiled ferment:
- Visible mould floating on the top. Some people scrape the top off and eat the ferment, but if in doubt, throw it out.
- Extremely smelly
- Bad taste
- Slimy, discoloured vegetables. Note that it is normal for some green vegetables – like green beans and cabbage – to go slightly brown or pale when fermented.
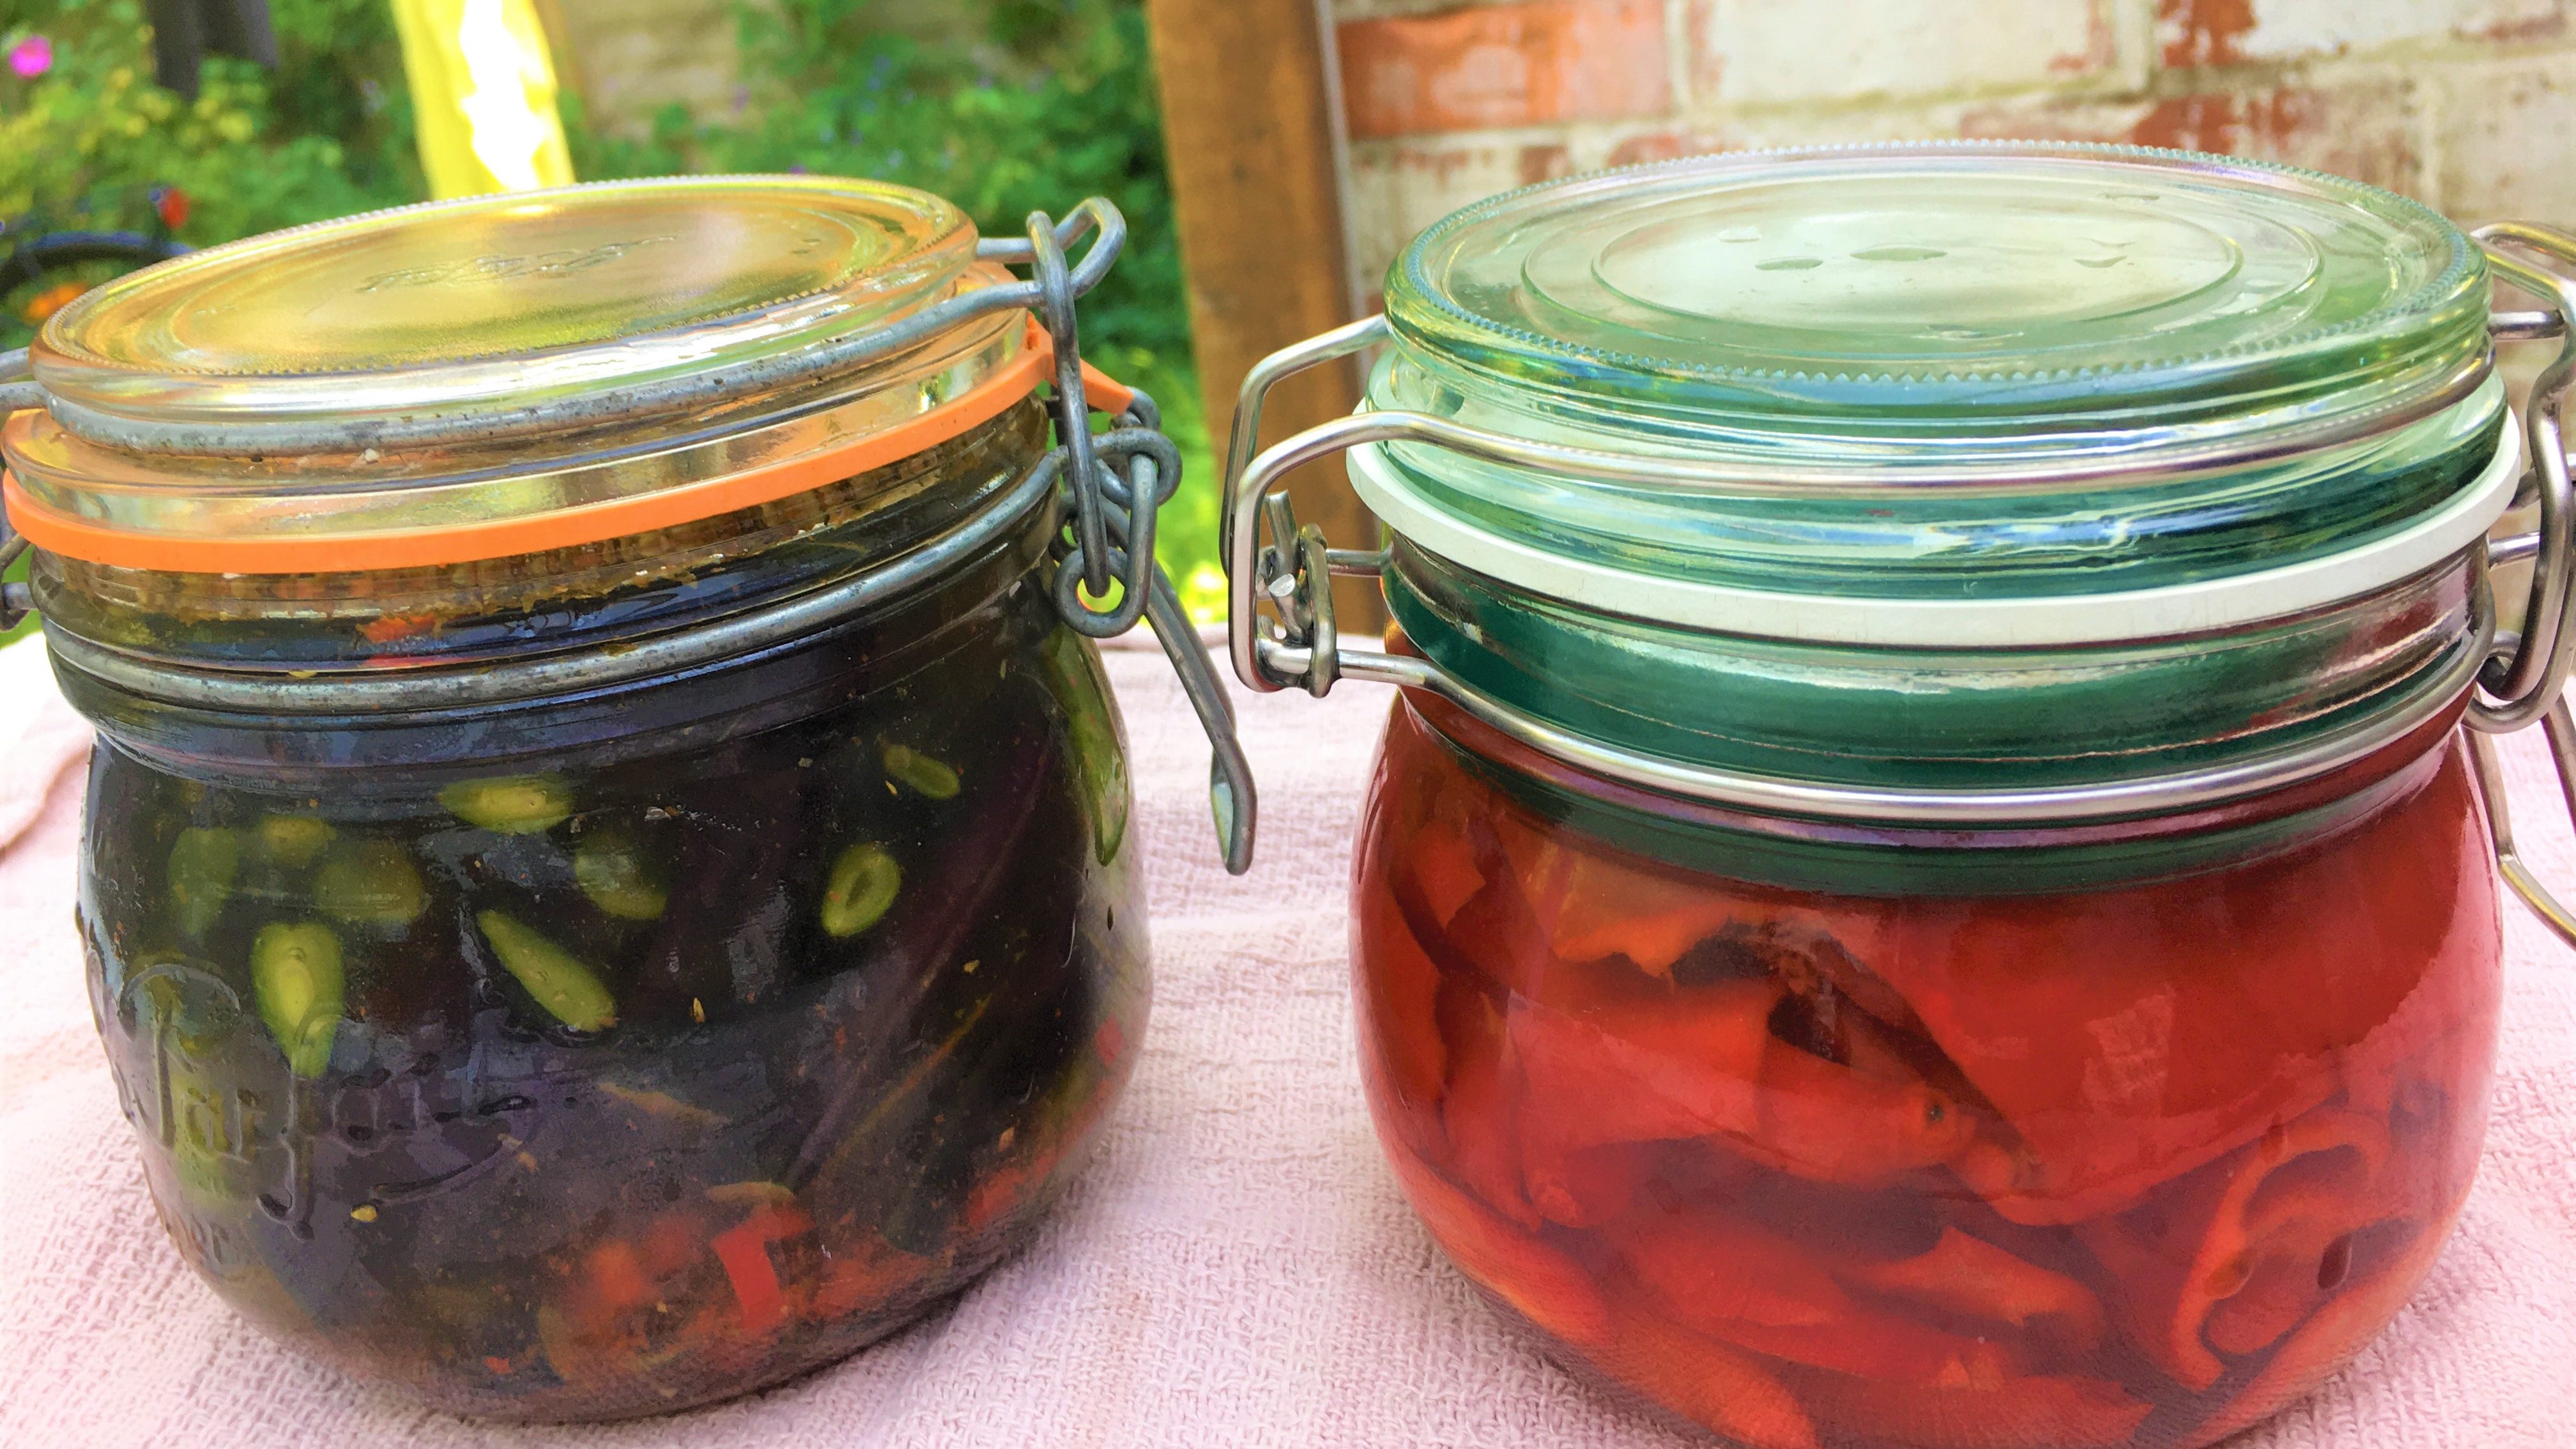
Recipes to try – these are crowd pleasers!
- Fermented chilli sauce AKA sriracha
- Sweet and tangy courgette relish
- Bell pepper sauce: ferment red bell peppers with a few cloves of garlic (chopped in half) in a 4% salt water brine for around 5-6 days. Remove the liquid. Put the peppers and garlic in a container, add some olive oil, a squeeze of lime and a bit of sugar – taste it until the flavours are well balanced. Blitz it with a food processor until it turns a light orange colour!
- Easy kimchi – a quick-to-make version of the popular Korean ferment, made from napa cabbage, chilli, ginger and garlic. It also works well with savoy cabbage.
For tips on seasonal cookery and home growing, sign up to our monthly newsletter.

Thanks Anais. Will have a go at a batch soon. I’d be interested to know the quantity of salt in weight, as a tablespoon can vary quite a lot depending on how much you fill it and the size of your salt granules. Alan Thawley – Translation and Language Services French/Italian to English alanthawley@yahoo.com
Tel: +44 (0)1844 299106 Mob: +44 (0)77 90412765
LikeLike