What is worm composting?
Worm composting is where organic matter (like food waste) is broken down by living creatures, including worms, bacteria and other micro-organisms. As worms digest the food scraps, the nutrients in the food are changed into forms which can then be used by plants. The compost produced can be added to pot plants or garden beds to feed the soil and plants!
Worm composting involves using special worms that like to eat organic materials that are decomposing. The worms are housed in a small container and are kept indoors, so this method is ideal if you don’t have a garden. The process is clean and odourless.
Why have a worm farm?
As well as producing a high-quality compost, worm farms also produce a liquid (aka leachate) packed with nutrients and beneficial micro-organisms, which can be used as a fertiliser.
Worm farms are also an excellent educational tool for kids. They are a great way to introduce them to the idea of taking responsibility for the waste we produce! Composting is a fascinating process and kids (and in our experience, adults too!) love watching it happen.
How to make a mini worm farm
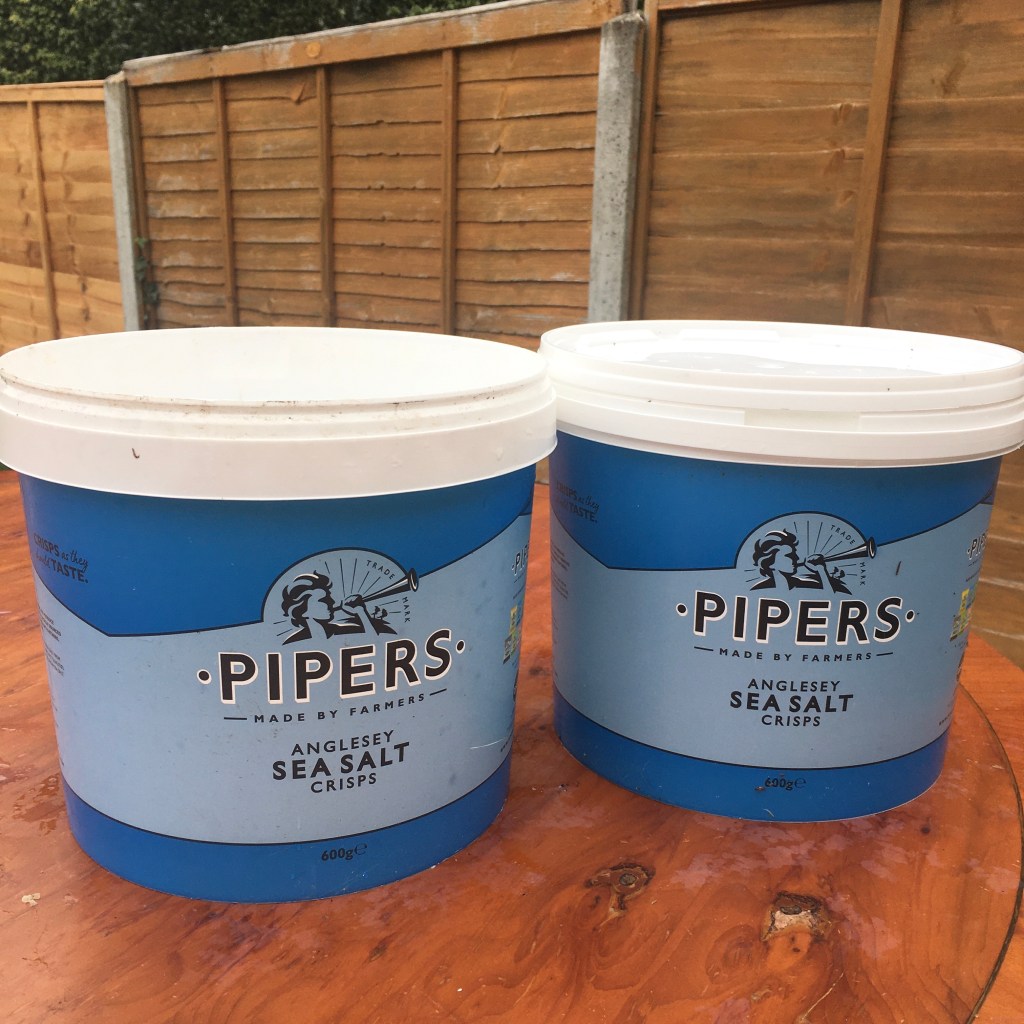
Get hold of two stackable tubs
Many containers can be turned into worm farms. If you’re just starting out, stackable 6-10 litre tubs work really well. As your worm population grows, you might want to scale up and make a bigger one. To source tubs, ask at a local pub or café. They often buy crisps and sauces like mayonnaise in these kind of tubs, and are generally happy to give them away!
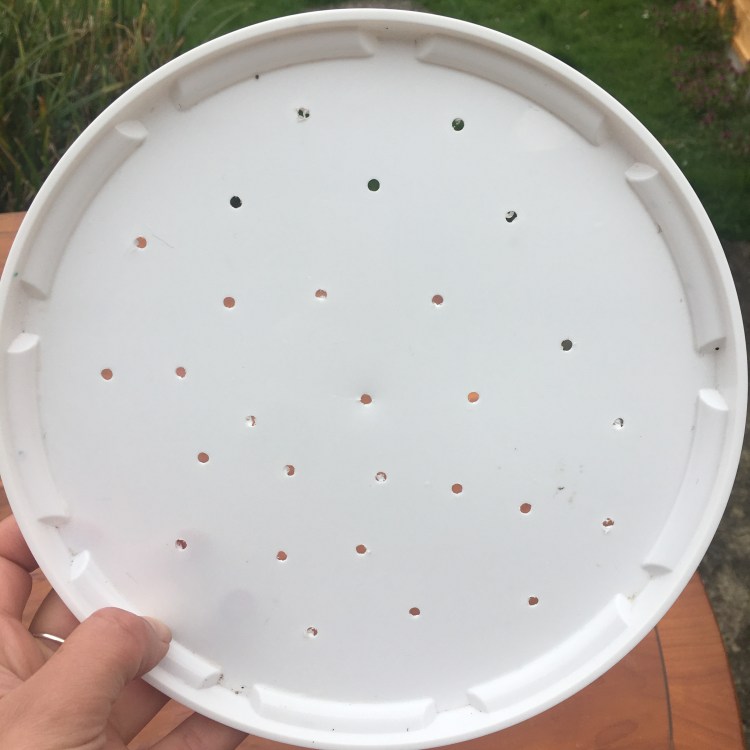
Drill holes in the lid
The worms and micro-organisms living in your worm farm need air to breathe, so drill plenty of holes in the lid.
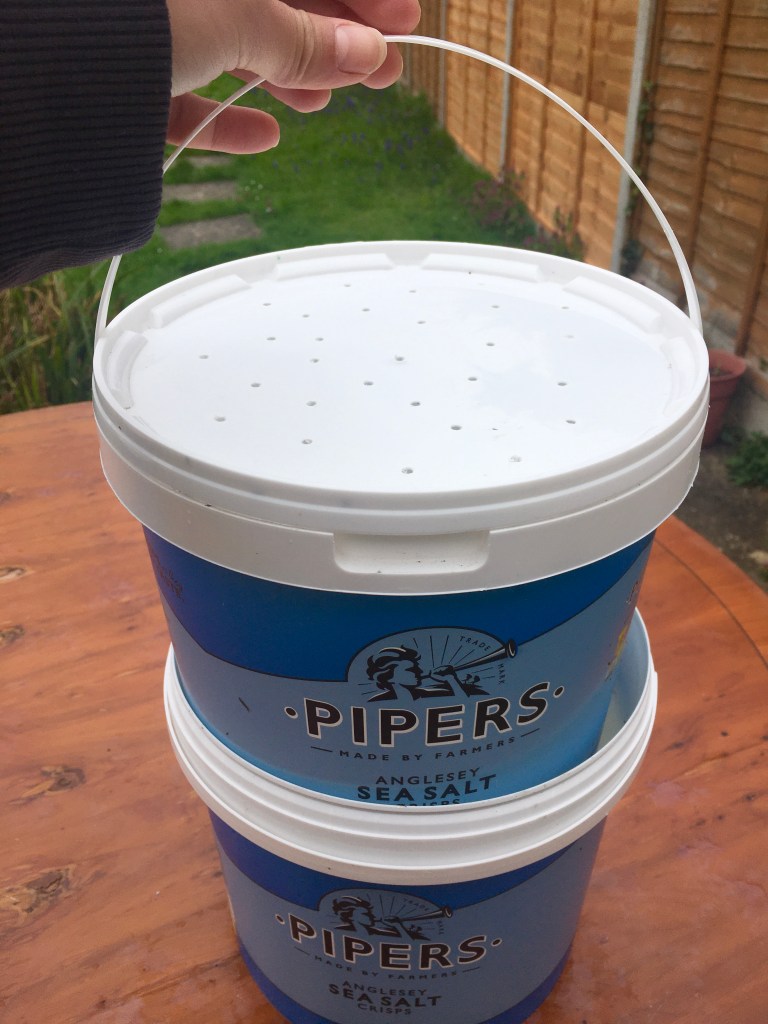
Drill holes in the bottom of ONE tub only
Drill holes in the bottom one tub and place this tub inside the other tub. The top tub will contain the worms and the food. The holes allow liquid (aka ‘leachate’) to drain into the bottom tub.

Fill your worm farm!
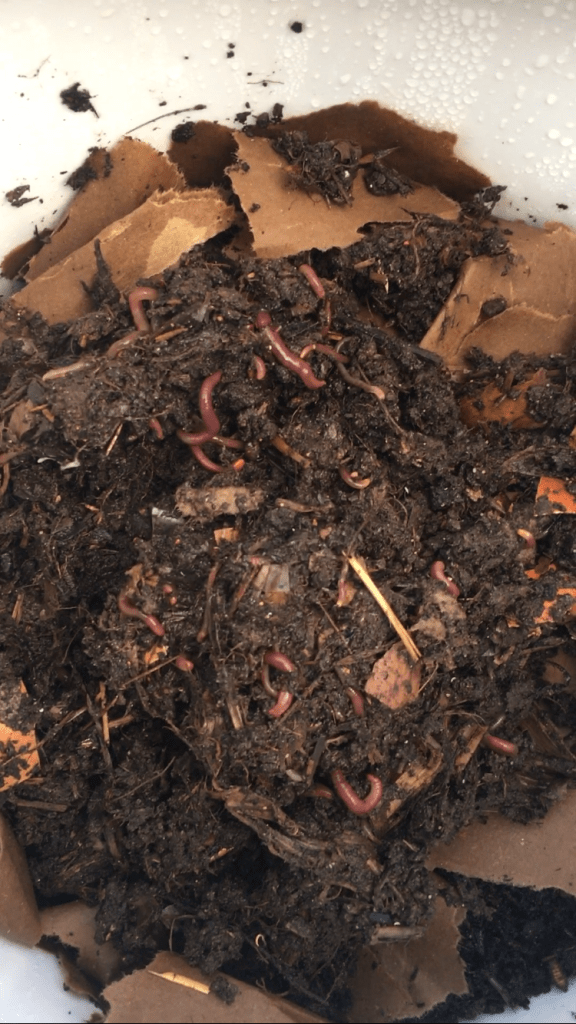
Bedding: Add about 3 inches of bedding for your worms. You can buy coconut coir worm bedding, but we find that shredded paper and/or aged compost works perfectly well. Ensure your chosen material is moist.
Worms: You can buy composting worms, but a cheap option is to find someone with a compost bin and ask them if you can take some worms from their bin! You can start with a small population (aim for at least 30), as they will breed and grow in number. Don’t take worms from garden soil, as these aren’t the kind that like to eat decomposing materials.
Moisture mat: Worms like a moist environment, so cover them with a moisture mat. Again, you can buy these, but we find a couple of sheets of brown paper work perfectly well. Keep them moist by spraying with water ever few days. You’ll need to replace them every so often as the worms will eat them.
What to feed your worms

Worms will eat all sorts of food waste, including:
- Any raw vegetables, except for onions, shallots, leeks and garlic
- All fruit, except citrus peel
- Any cooked vegetables
- Tea bags, eggshells, coffee grounds and small amounts of bread
You should also add 30% carbon, such as egg boxes, unbleached/ non-glossy paper and corrugated cardboard.
You can also add small amounts of garden waste such as annual weeds, leaves and other soft green material. If you have a lot of garden waste it’s best to put this in an ordinary compost bin.
What not to feed your worms
- Dairy products, fat, grease, meat, fish and bones as these can attract unwanted pests and flies
- Large amounts of tough leaves and woody material as it will slow the system down
Top tips for maintaining a worm farm
- Keep your bin indoors – composting worms thrive in temperatures between 18-25ºC
- Chop waste into small pieces so it is easier to eat
- Place the food on the top of the compost OR bury the food in the compost
- Don’t overfeed! If the waste is not being eaten, feeding should be stopped for a few days until the worms start to eat what is there.
- An established wormery can go without feeding for up to 4 weeks
Using worm compost and liquid
Worm compost: To collect your worm compost (aka ‘castings’), take the lid off the tub and leave it somewhere light. The worms will bury themselves to avoid the light. Allow 10 minutes for this. You can then gently scoop out the top layer without hurting the worms.
Liquid: The liquid that drains into the bottom tub is called ‘leachate’. Dilute this with water (1 part leachate to 10 parts water) and use it as a fertiliser on garden beds or pot plants. Unlike some fertilisers, it will not burn plants. It’s important to remove the liquid often so that it doesn’t build up and create a waterlogged wormery.
Other worm farm options
Stacked box worm farm – ideal if you want to compost larger quantities of waste (here’s a written guide).
Suppliers of ready-made worm farms and worms:
Original Organics Ltd
The Organic Gardening Catalogue
The Recycle Works Ltd.
Wiggly Wigglers
Worms Direct UK
Yorkshire Worms
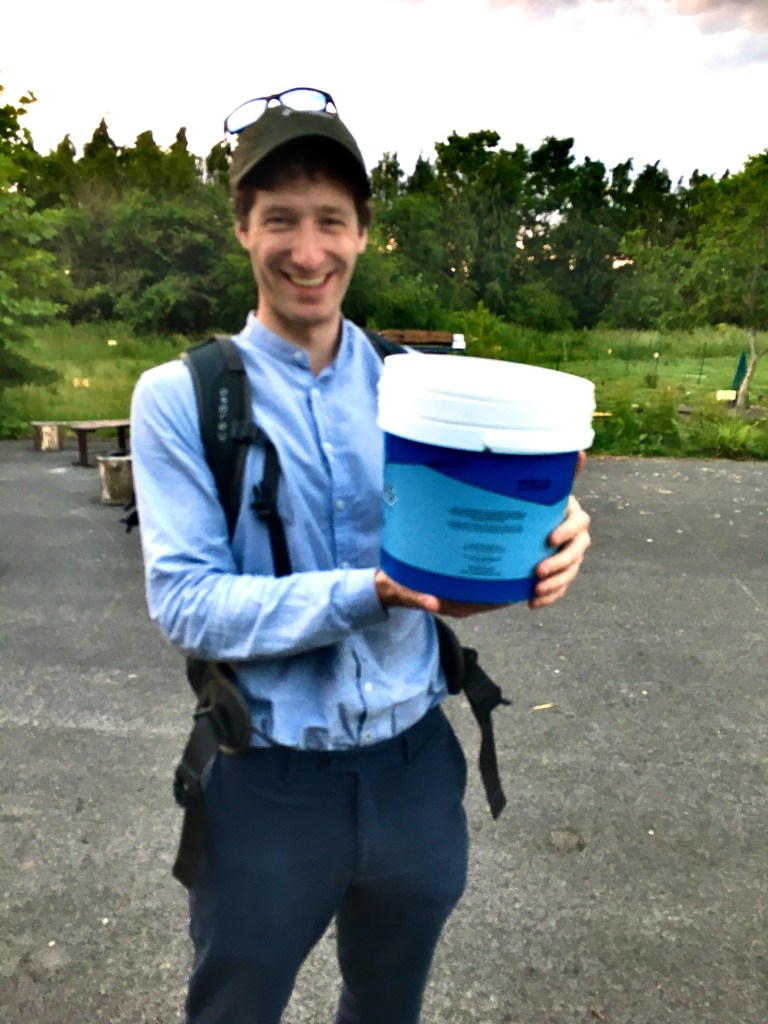
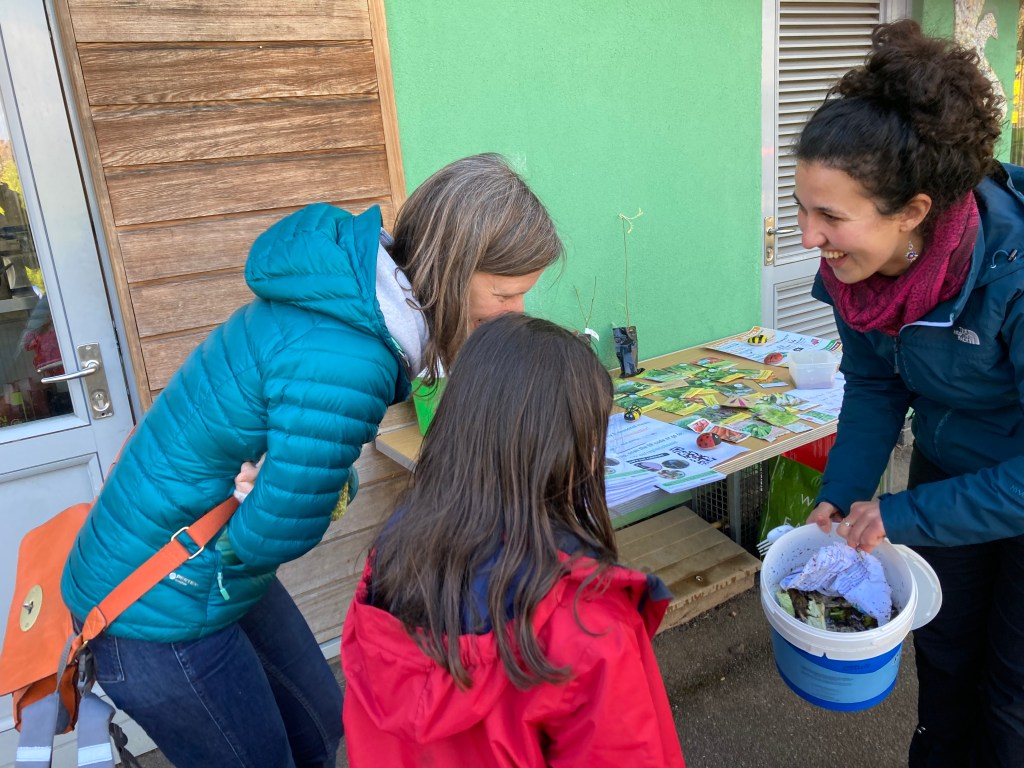
A happy participant from a recent worm farming workshop! We made mini worm farms and demonstrated how to make a larger worm farm from old plastic boxes.
